
Where art and delight meet: the wonderful world of hand-rolled chocolate truffles. If you’ve ever been intrigued by the process by which those chocolate truffles with their varied fillings are created, you’re in for a real treat. In this comprehensive instruction, we’ll show you how to roll your own chocolate into balls, so you can impress your friends with treats that taste as good as they look.
Now that the fundamentals have been discussed, let’s begin with the ingredients..
I. Preparation.
To make the perfect chocolate balls, you’ll need high-quality chocolate, a selection of fillings (such as fruit, caramel, or nuts), and a touch of magic (or, more accurately, a deep love of chocolate). The versatility is part of the allure; choose between milk, white, and dark chocolate to suit your personal preference.
2. Melt The Magic
The second step is to melt the magic and turn the chocolate into liquid gold. Put the chocolate of your choice into a microwave-safe bowl and give it a swirl every so often as it dances in the microwave. This is crucial for a chocolate coating to look polished and professional, as it ensures a glossy, smooth surface.
3. Creating the Centerpiece – An Abundance of Fillings:
The time has come to experiment with various fillings. From chewy caramel to crunchy nuts, the choices are practically endless. You can make your chocolate truffles uniquely yours by hiding a little something inside. Recall that the explosion of flavors ought to be just as captivating as the cooking technique.
4. Creating the Ideal Spheres:
Now that you have your seductive fillings and melted chocolate ready, it’s time to form the magic into spheres. Roll the chocolate into bite-sized balls using a spoon or your hands to create an even covering. The trick is to work swiftly and appreciate the imaginative blast of each ball.
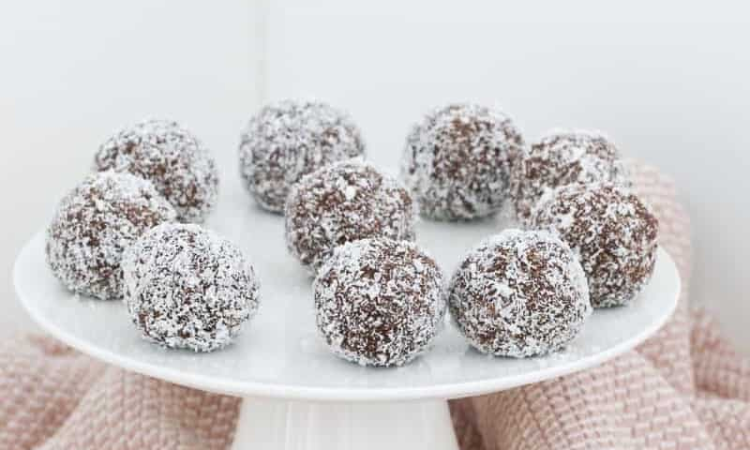
5. Preparing the Scene: Decorating and Cooling
After molding chocolate into balls, set them on a parchment-lined platter to cool. The question of what to decorate with presents itself at this point. You can experiment with different chocolate drizzles, nut crumbles, and cocoa powder dusting. Go mad with your creativity and make each ball into a one-of-a-kind work of art.
6. Embracing the Burstiness:
Handmade chocolate balls are unique due to their burstiness of flavors and textures. When you take your first bite, you’ll experience the harmonious transformation of the chocolate shell into the luscious center. There is no equivalent to this unexpected burst of happiness that can be bought at a shop.
7. Serving Ideas – Revel in Heavenly Chocolate:
Now that your chocolate balls are done, all that’s left to do is serve them. Arrange them on a stylish dish and jazz them up with some edible flowers. Now you may bring a dessert to any party. These rich chocolate sweets are excellent for get-togethers with loved ones, festivities, or even as a beautiful present for a special someone. Remember that it’s not just the taste that adds to the flavor explosion, but the overall experience.
8. Storage Advice – Maintain the Optimum:
Even when it could be rather enticing to consume all of your chocolate balls at once, you need to think about storage. Keep them in the fridge in an airtight container to extend their shelf life. When the chocolate is at just the right temperature, the flavors explode, and you get a satisfying crunch before the delicious center melts on your tongue.
You can also follow the recipe given below:-
Conclusion
In conclusion, you are now on your way to creating the most delectable chocolate balls ever! Congratulations! Any cook may use this manual to create chocolate-covered treats that will have their taste buds dancing. Embrace the muddle of possibilities, experiment with fillings, and think outside the box. Go ahead and whip up a batch so you can experience the rich, bursting flavor of homemade chocolate. Chocolate-making success to you!
For more recipes like this, visit our website Food Marvel.